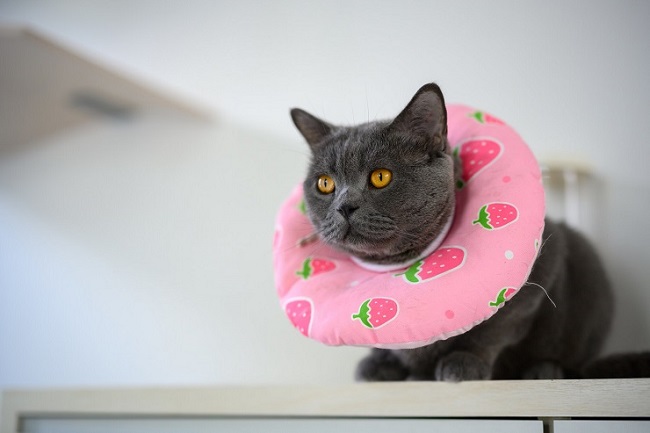
A cat cone, also known as an Elizabethan collar or E-collar, is an essential tool to prevent your furry friend from scratching or biting at injuries or stitches during recovery.
While vet-provided cones serve the purpose well, they may not always be the most comfortable option for your pet.
If you are looking to create a softer, more customized cat cone at home, this DIY guide will walk you through the process.
Materials Needed for a Cat Cone DIY
- Soft, flexible material (like foam sheet or fabric)
- Scissors
- Measuring tape
- Velcro strips
- Marker
Read Also:
DIY Cat Cone Steps
Follow the instructions to DIY cat cone:
1. Measure Your Cat’s Neck
The first step to crafting a DIY cat cone is to measure your cat’s neck. This measurement is critical to ensure the cone fits comfortably. It shouldn’t be too tight, which could cause discomfort, or too loose, as it could slip off. Record the measurement once done.
2. Draft the Cone Shape
Using a marker, draw a large circle on your chosen material, the radius of which should be the length from your cat’s neck to its nose. The circumference of the inner circle should match your cat’s neck measurement. Draw lines from the center to the outer edge to form a wedge-shaped piece – this will create the cone shape.
3. Cut Out the Cone
Use your scissors to cut along the lines you’ve drawn. You should end up with a circular piece of fabric or foam with a wedge missing.
4. Create the Cone
Bring the cut edges of your material together to form a cone shape. Make sure the smaller end is just wide enough to comfortably fit your cat’s neck.
5. Secure with Velcro
Attach self-adhesive Velcro strips to the edges of the fabric or foam that form the opening of the cone. The Velcro will allow you to easily put on, adjust, and remove the cone.
6. Final Fitting
Place the cone around your cat’s neck, secure it using the Velcro, and make any necessary adjustments. The cone should fit comfortably and prevent your cat from reaching its wounds while allowing it to eat and drink.
Additional Tips
- Always supervise your cat while it’s wearing a DIY cone to ensure it doesn’t get stuck or manage to remove it.
- Some cats may need time to adjust to wearing a cone. Encourage them with gentle words and treats.
- Make sure to keep the cone clean and check the cat’s wound regularly for signs of healing or infection.
Read Also:
Conclusion
Creating a DIY cat cone at home is a simple, affordable alternative to the traditional hard plastic cones often provided by vets. Not only can a DIY cone provide more comfort for your feline friend, but it can also be personalized to fit perfectly.
Remember, the goal of a cat cone is to aid your pet’s recovery, so always consult with your vet to ensure that a DIY cone is suitable for your cat’s specific needs.


