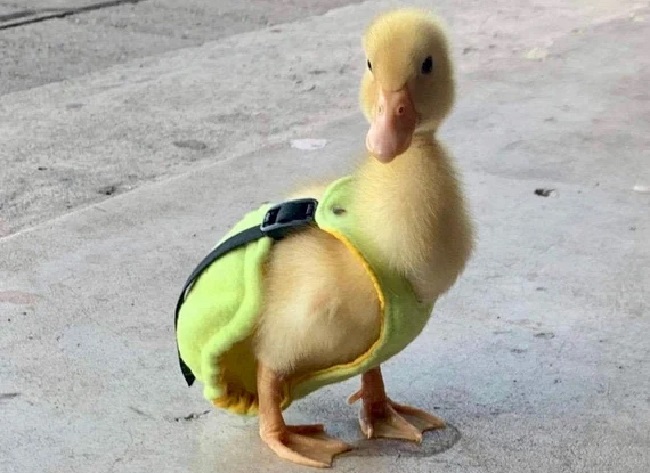
Raising Ducks has its own unique charm, but it can also be quite a messy affair. One solution for keeping your home clean while your Ducks roam freely is Duck Diapers.
While there are ready-made options available, this article focuses on DIY Duck Diapers, which provide an economical, environmentally friendly, and custom-fit solution for your pet.
By the end of this guide, you’ll be well-equipped with the knowledge to craft the perfect Diaper for your feathered friend.
Why Choose DIY Duck Diapers?
Duck Diapers offer numerous benefits, including allowing indoor Ducks to wander freely without the worry of a mess. With DIY solutions, these benefits extend even further:
Read Also:
Custom Fit
Creating a DIY Duck Diaper ensures that the Diaper fits perfectly, reducing any discomfort for your pet.
Cost-Effective
Purchasing ready-made Duck Diapers can get expensive over time. On the other hand, making your own can be a cost-efficient solution.
Creative Freedom
With DIY Duck Diapers, you can choose from a variety of materials and colors, letting your pet strut around in style.
Materials Required for DIY Duck Diapers
Before we dive into the steps, let’s gather the required materials:
- Measuring Tape
- Fabric of choice (cotton is a good option due to its comfort and absorbency)
- Sewing Machine or Needle and Thread
- Velcro or Snaps
- Scissors
- Waterproof liner (Optional)
- Absorbent pad (Optional)
Step-by-step Guide to Crafting DIY Duck Diapers
Once you’ve gathered all the necessary materials, follow these steps:
Step 1: Measuring Your Duck
Take three main measurements: around the Duck’s waist, from its back to its tail, and from its tail to its vent.
Step 2: Cutting the Fabric
Cut two pieces of fabric using these measurements, accounting for seams and room for the Duck’s tail. The pieces should resemble an hourglass shape.
Step 3: Sewing the Diaper
Sew the two pieces together, leaving a hole for the tail. If you’re using a liner, sew it into the inner piece before sewing both parts together.
Step 4: Adding Fasteners
Attach Velcro or snaps to the waist ends of the Diaper, ensuring it’s adjustable to fit your Duck comfortably.
Step 5: Adding an Absorbent Pad
If you want, add a removable, absorbent pad to the Diaper. This pad should be easy to replace and wash.
Step 6: Fitting the Diaper on Your Duck
Check the Diaper’s fit on your Duck. Make sure it’s not too tight or too loose, and adjust if necessary.
Maintaining Your DIY Duck Diapers
To ensure the Diaper serves its purpose without causing discomfort or health issues to your pet, follow these maintenance tips:
Regular Changing
Change the Diaper regularly to prevent any skin issues, infections, or discomfort to your Duck.
Washing
Wash the Diapers frequently to maintain cleanliness. It’s a good idea to have multiple Diapers so you can rotate them.
Checking for Comfort
Regularly check to ensure the Diaper isn’t causing any irritation or discomfort to your Duck. Adjust the size as your Duck grows.
Read Also:
Conclusion
Creating DIY Duck Diapers is a straightforward, cost-effective way to allow your indoor Ducks to roam freely without the mess. With some basic materials and a little time, you can make a comfortable, custom, and creative solution for your feathered friend.
Now that you’re equipped with all the knowledge on ‘DIY Duck Diapers’, it’s time to let your pet waddle around with comfort and style!


